
Places
Home · Centre · Hospital
Discussed with your team
Netherlands · Family · Giving birth
Birth-day and place-of-birth orientation for expats — home, hospital or birth centre, when to call your midwife, packing lists, partner role and the calm first hours after birth.
General orientation only — not medical advice, not a birth plan, and not a ranking of midwives, hospitals or birth centres. For your own labour and birth, follow the instructions of your midwife or obstetric team. Call 112 for life-threatening emergencies.

Quick answer
In the Netherlands, many births are planned with a midwife (verloskundige) and a discussed place of birth — home, birth centre (geboortecentrum) or hospital. Suitability depends on your clinical situation, not preference alone.
This guide is the birth-day cornerstone: place options, when to call, packing, partner role and the first hours after birth. Full maternity pathways, registration timing and kraamzorg detail live on Maternity care. Baby healthcare after birth continues on Healthcare for Children.
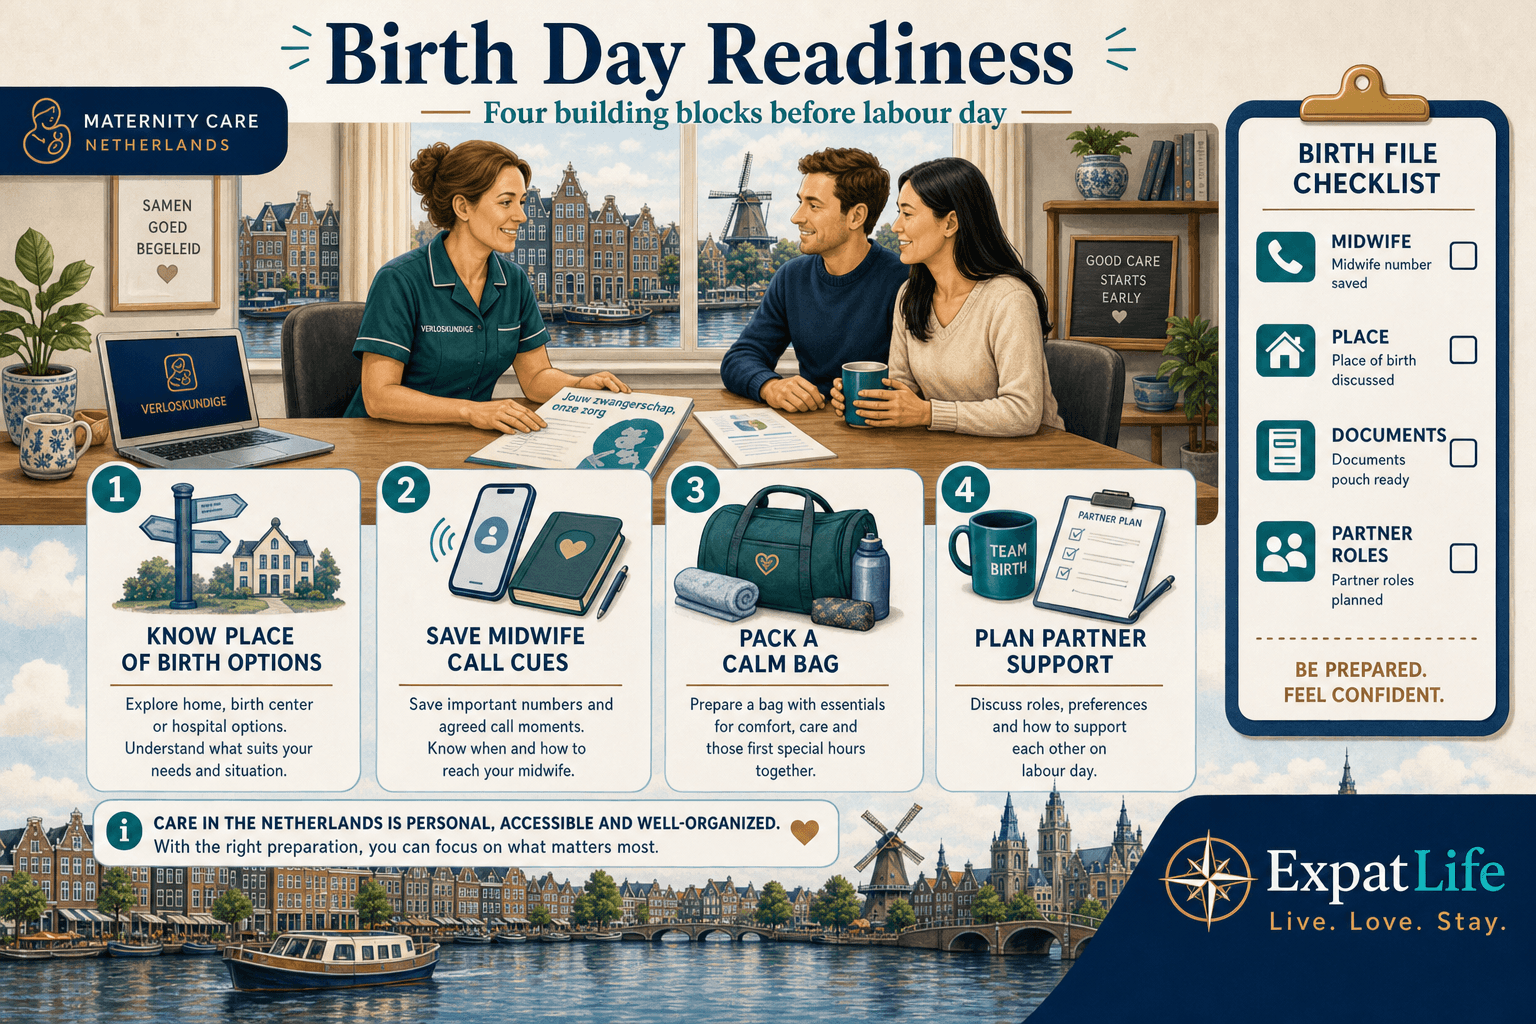
Birth file checklist
Examples
| Situation | How it works here | First step |
|---|---|---|
| We hope for a home birth | Home birth can be discussed when your midwife considers it suitable — it is not automatic for every pregnancy. | Ask your midwife what suitability checks and transfer plans look like for your situation. |
| We expect a hospital birth | Hospital births may be midwife-led or obstetric-led depending on indications — your team explains the pathway. | Confirm which hospital entrance to use and what to bring on the day. |
| We are unsure when labour has started | Dutch care usually starts with the call cues your midwife already gave you — not a generic online clock. | Call your midwife with the cues they listed; use 112 for life-threatening emergencies. |
Snapshot
Six cards cover place of birth, call cues, packing, partner role, transfer awareness and the first hours — deeper sections expand each theme without medical advice.
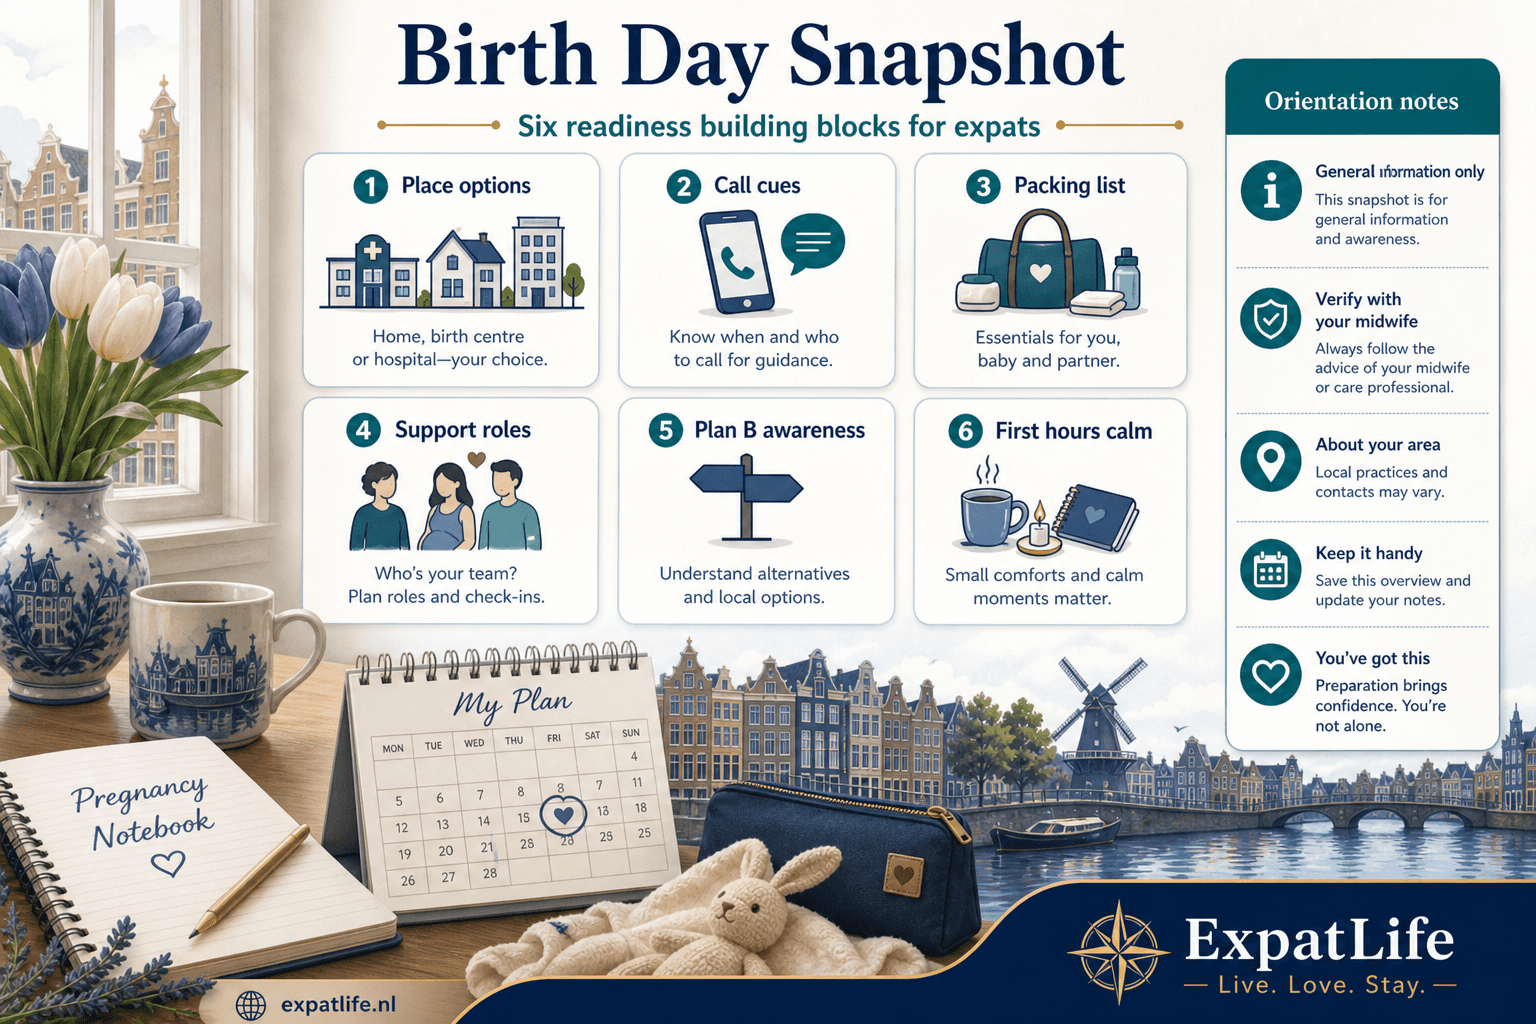
Places
Home · Centre · Hospital
Discussed with your team
First call
Your midwife / on-call
Save the number early
Pack early
Bag + baby kit
Documents in one pouch
After birth
First hours calm
Then kraamzorg / JGZ doors
Home, geboortecentrum or hospital — discussed with your midwife or obstetric team based on suitability.
Use the contraction, waters and symptom cues your midwife gave you — save the on-call number.
ID, insurance, clothes, toiletries, snacks, chargers and a partner overnight kit.
Timing, transport, language advocacy, hydration and calm presence — not clinical decisions.
Transfers are part of safe Dutch birth pathways when indications appear.
Recovery, first feeds when suitable, checks, then postpartum and JGZ next steps.
Places
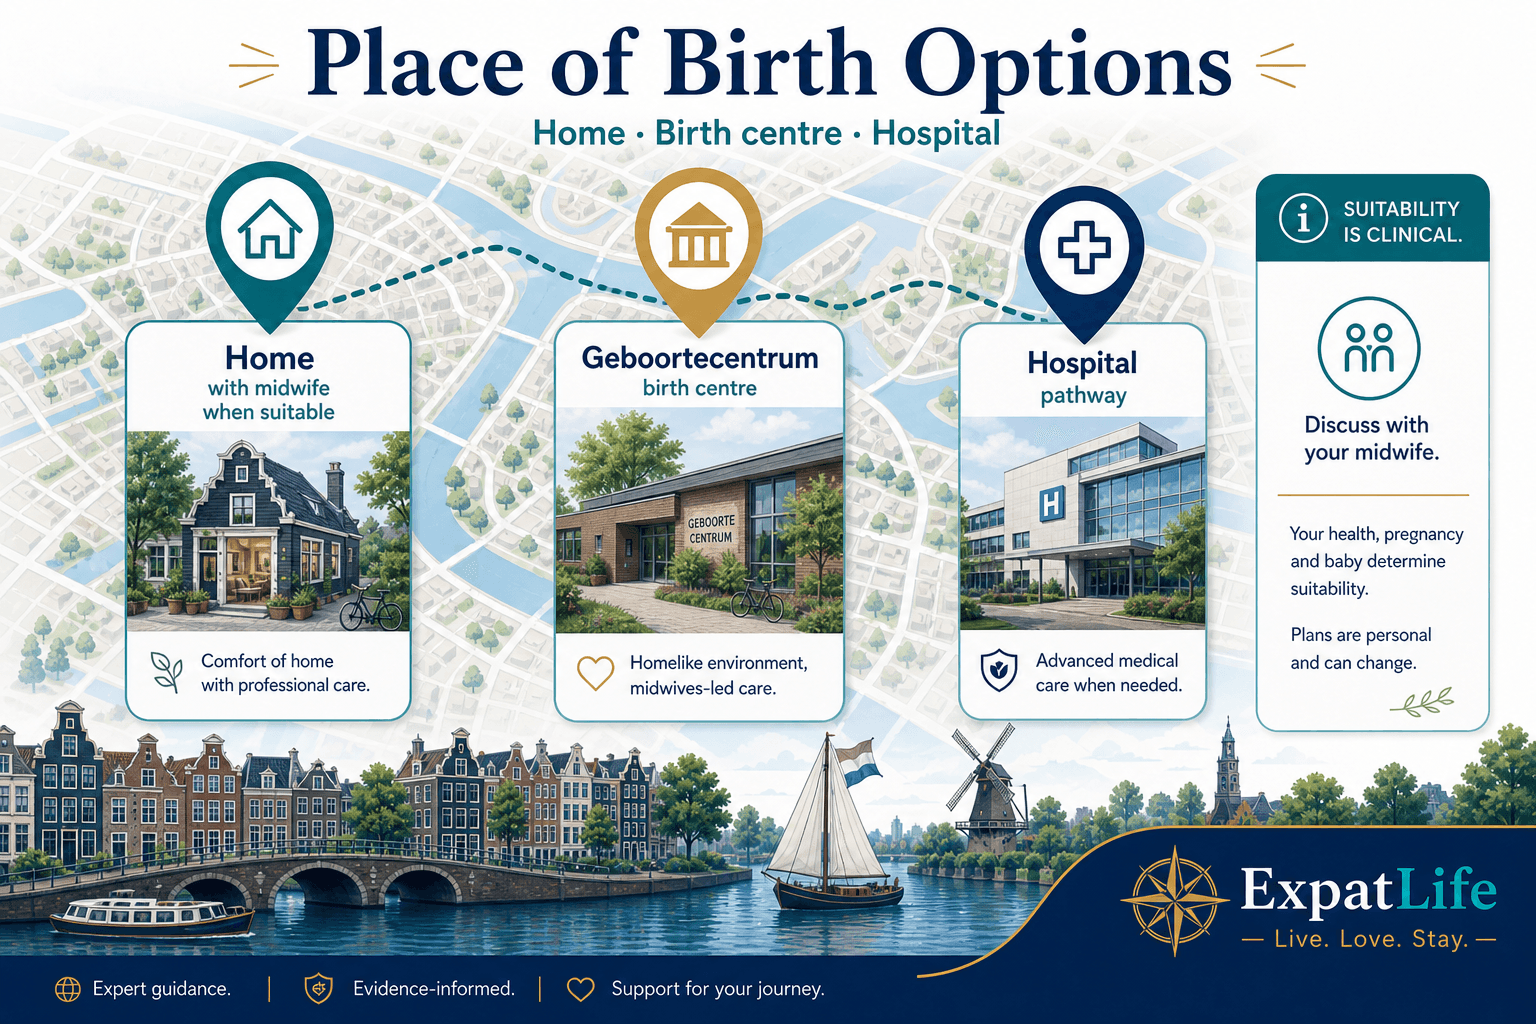
Dutch maternity culture often discusses place of birth openly. Suitability depends on pregnancy and labour factors your midwife or obstetric team assesses — not on which option sounds nicest online.
Home birth with a midwife can be an option when the situation is considered suitable. A birth centre (geboortecentrum) sits between home and hospital for some pathways. Hospital birth may be midwife-led or involve obstetric care when indicated.
Your team should explain why a place is or is not suitable and what a transfer would look like. Prefer that conversation over rankings or anecdotal “best hospital” lists.
| Place | What it feels like | Who supports | Tip |
|---|---|---|---|
| Home | Familiar space; midwife comes to you when suitable | Midwife (+ assistant roles as arranged) | Ask about transfer plan, parking for support people and what to prepare at home |
| Birth centre (geboortecentrum) | Home-like rooms, often linked to hospital pathways | Midwife team; hospital nearby if transfer needed | Confirm entrance, parking and what happens if labour needs hospital care |
| Hospital | Clinical setting; midwife-led or obstetric pathway | Midwife and/or obstetric / hospital team | Know which entrance and ward; pack for possible overnight stay |
Place of birth is a clinical discussion with your team — preference alone does not decide safety.
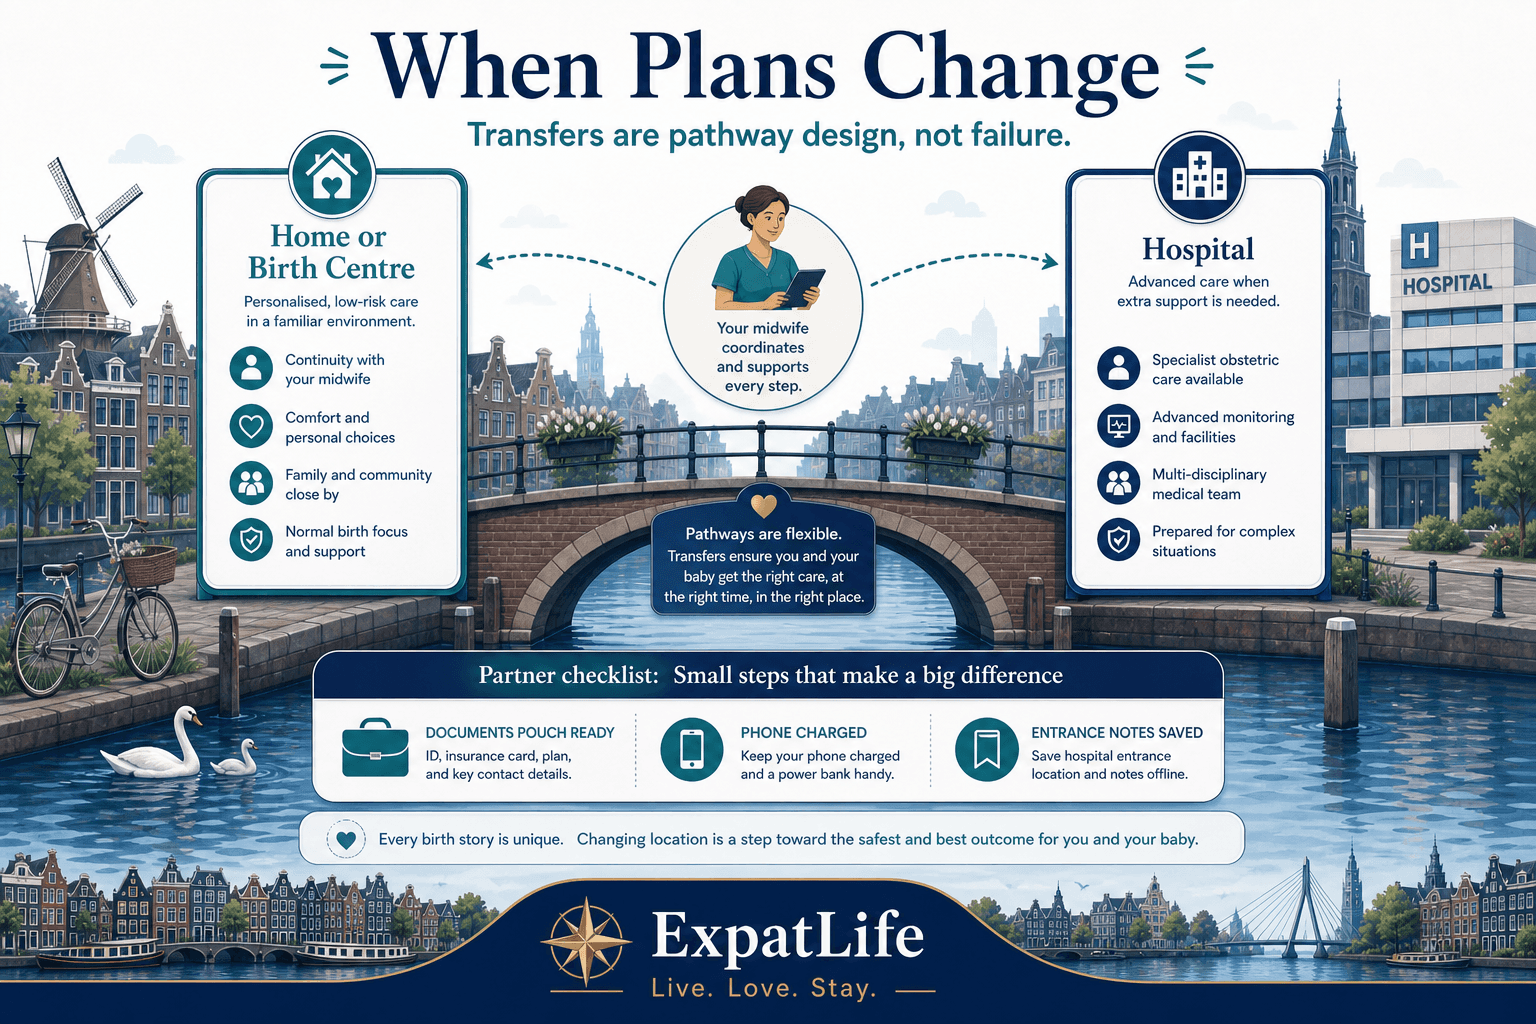
Home or centre plans can move to hospital when indications appear. That is pathway design, not failure.
Ask early whether English support is available on the day and who can help translate preferences.
Call cues
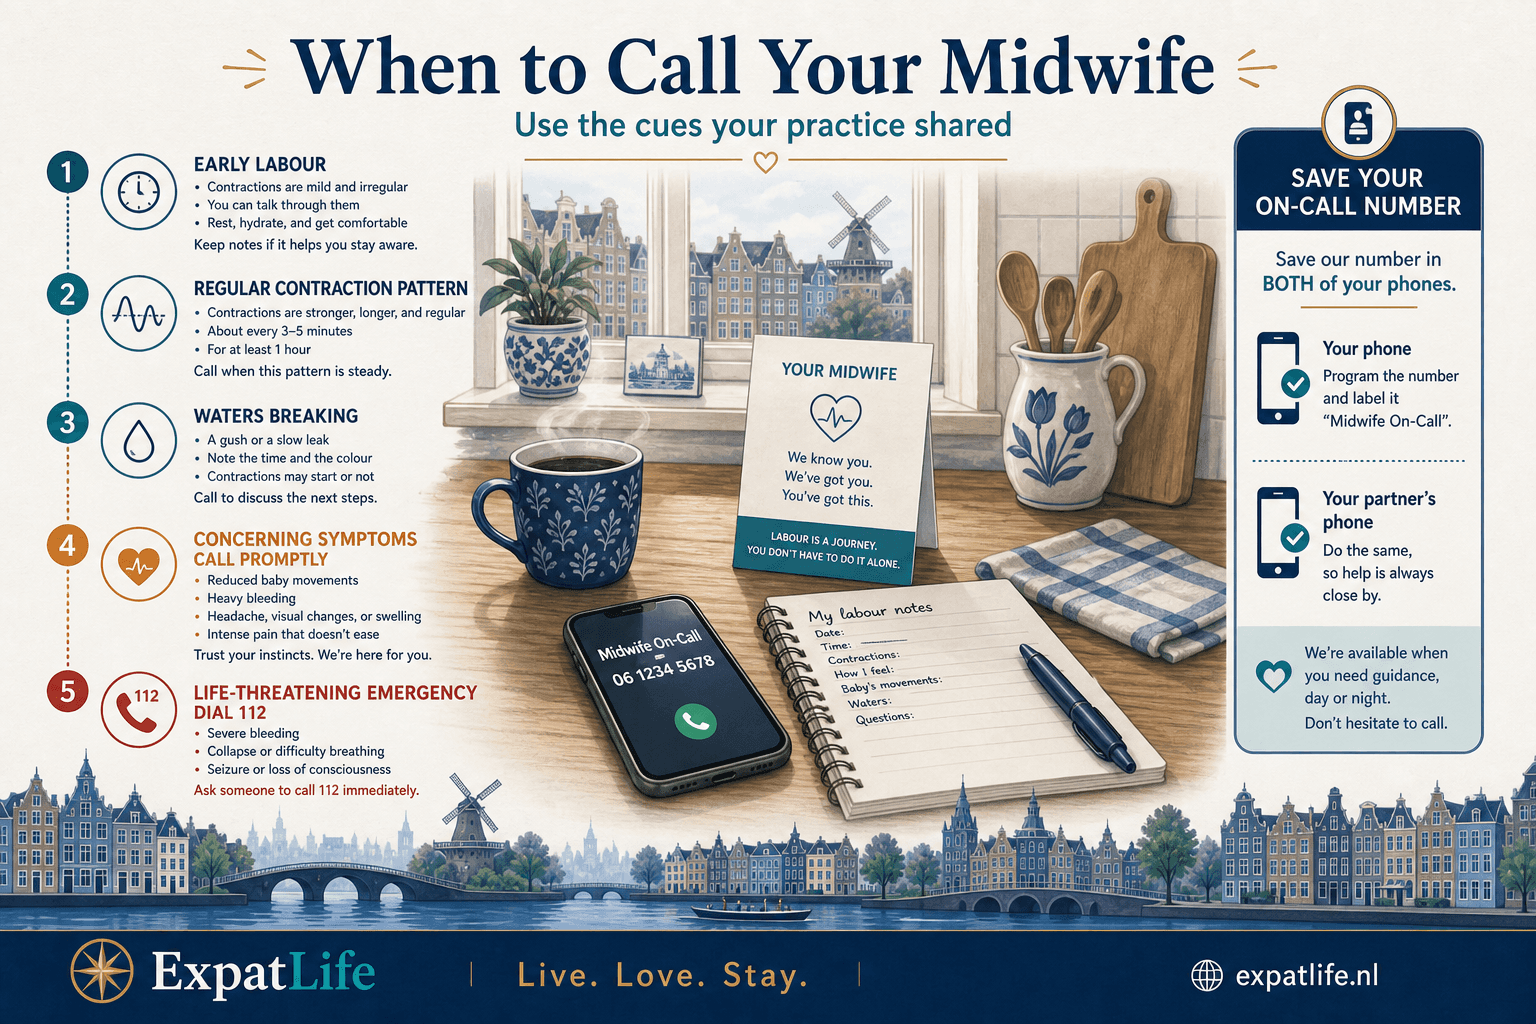
Your midwife (or obstetric team) should give you personalised cues for when to call. Use those first. The rows below are orientation themes — not a substitute for their instructions.
Many practices share a written sheet covering contractions, waters breaking, blood loss, reduced movements and other concerning symptoms. Save the on-call number in your phone and your partner’s phone.
For life-threatening emergencies — severe bleeding, collapse, or other critical situations — call 112. Emergency Healthcare explains Dutch urgent doors more broadly.
| Cue | Urgency | Action |
|---|---|---|
| Regular contractions / labour progressing as discussed | Call midwife | Use the timing or pattern cues your midwife listed |
| Waters breaking | Call midwife | Note time, colour/odour notes they asked for, then call |
| Reduced baby movements or concerning symptoms they listed | Call promptly | Do not wait for a scheduled appointment — call the on-call line |
| Life-threatening emergency | 112 | Call emergency services; then inform your midwife when safe |
Packing
Pack in the final weeks so labour day is about calling your midwife — not searching for passports. Lists vary by place of birth; confirm with your midwife what they expect.
Documents matter most: ID, insurance details, pregnancy notes and any hospital registration paperwork. Comfort items come next. If you may go home the same day, a car seat and going-home outfit for the baby are practical.
Partners should pack a small overnight kit too — chargers, snacks, change of clothes and any medication they need for themselves.
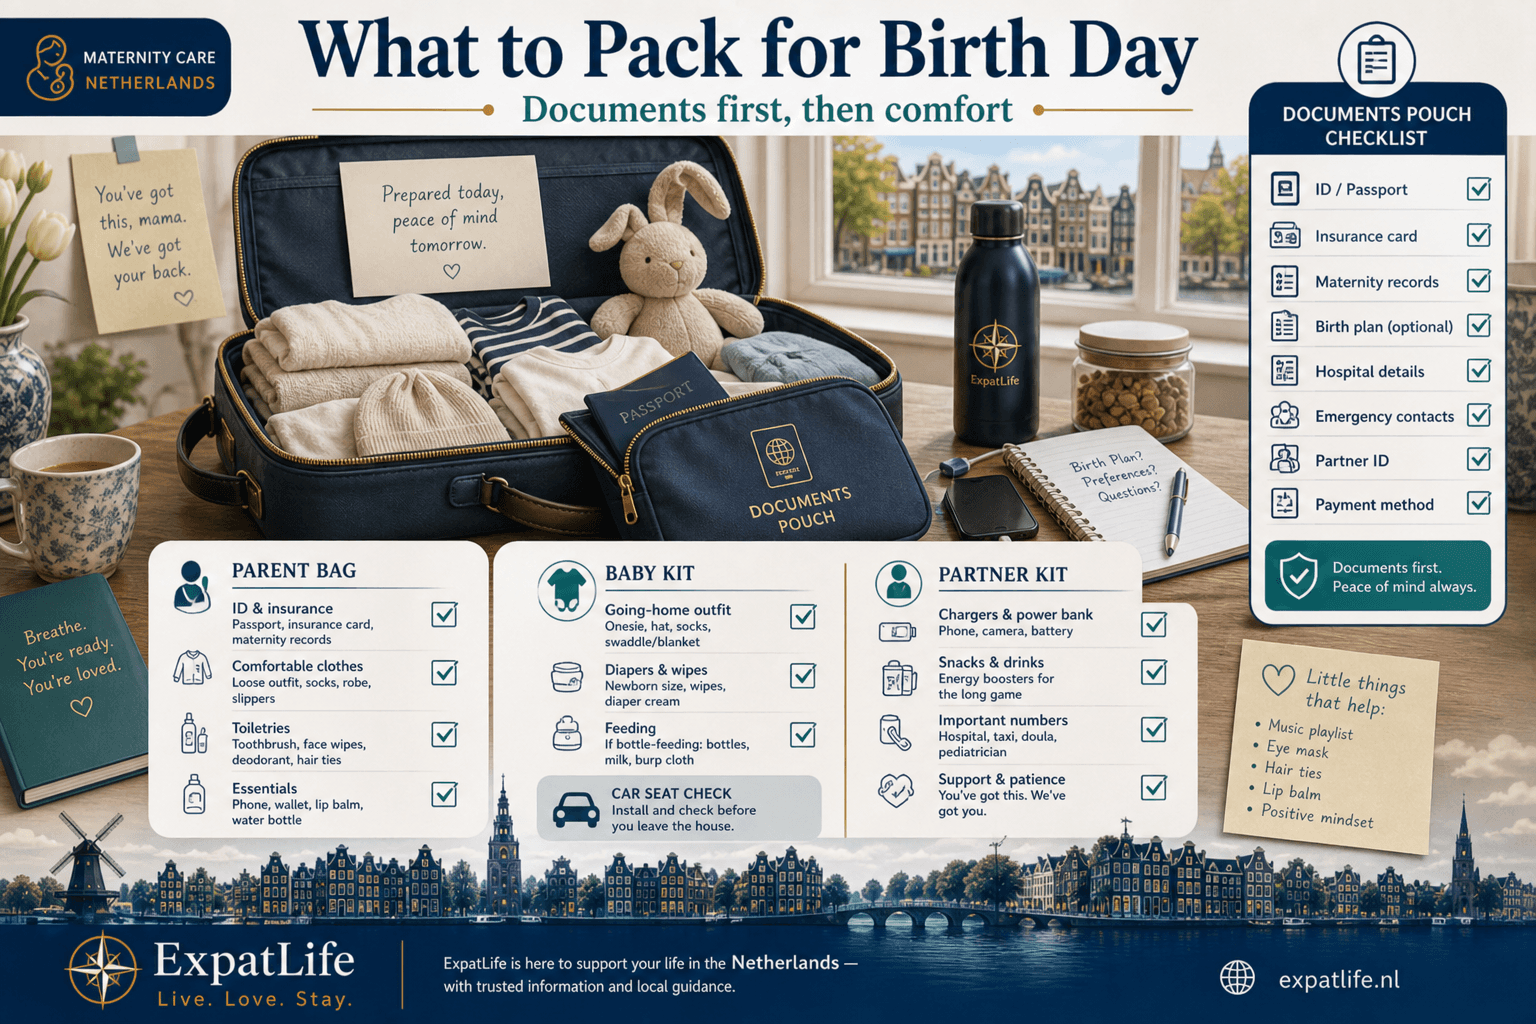
Parent bag
Baby kit
Partner kit
Keep ID, insurance and pregnancy notes in one zip pouch at the top of the bag.
Home birth needs a prepared room list; hospital stays need overnight toiletries — ask your midwife.
One calm bag beats three suitcases. Add items your midwife specifically requested.
Support
Partners and support people are a practical part of Dutch birth-day culture: logistics, advocacy and calm presence. Clinical decisions stay with the midwife or obstetric team.
Helpful roles include timing contractions as instructed, driving or arranging transport, speaking up about language needs, offering hydration and rest prompts, and keeping the documents pouch ready if a transfer happens.
Agree in advance who will update family, who holds the phone, and what “calm advocacy” means for you — especially if English is needed on the day.
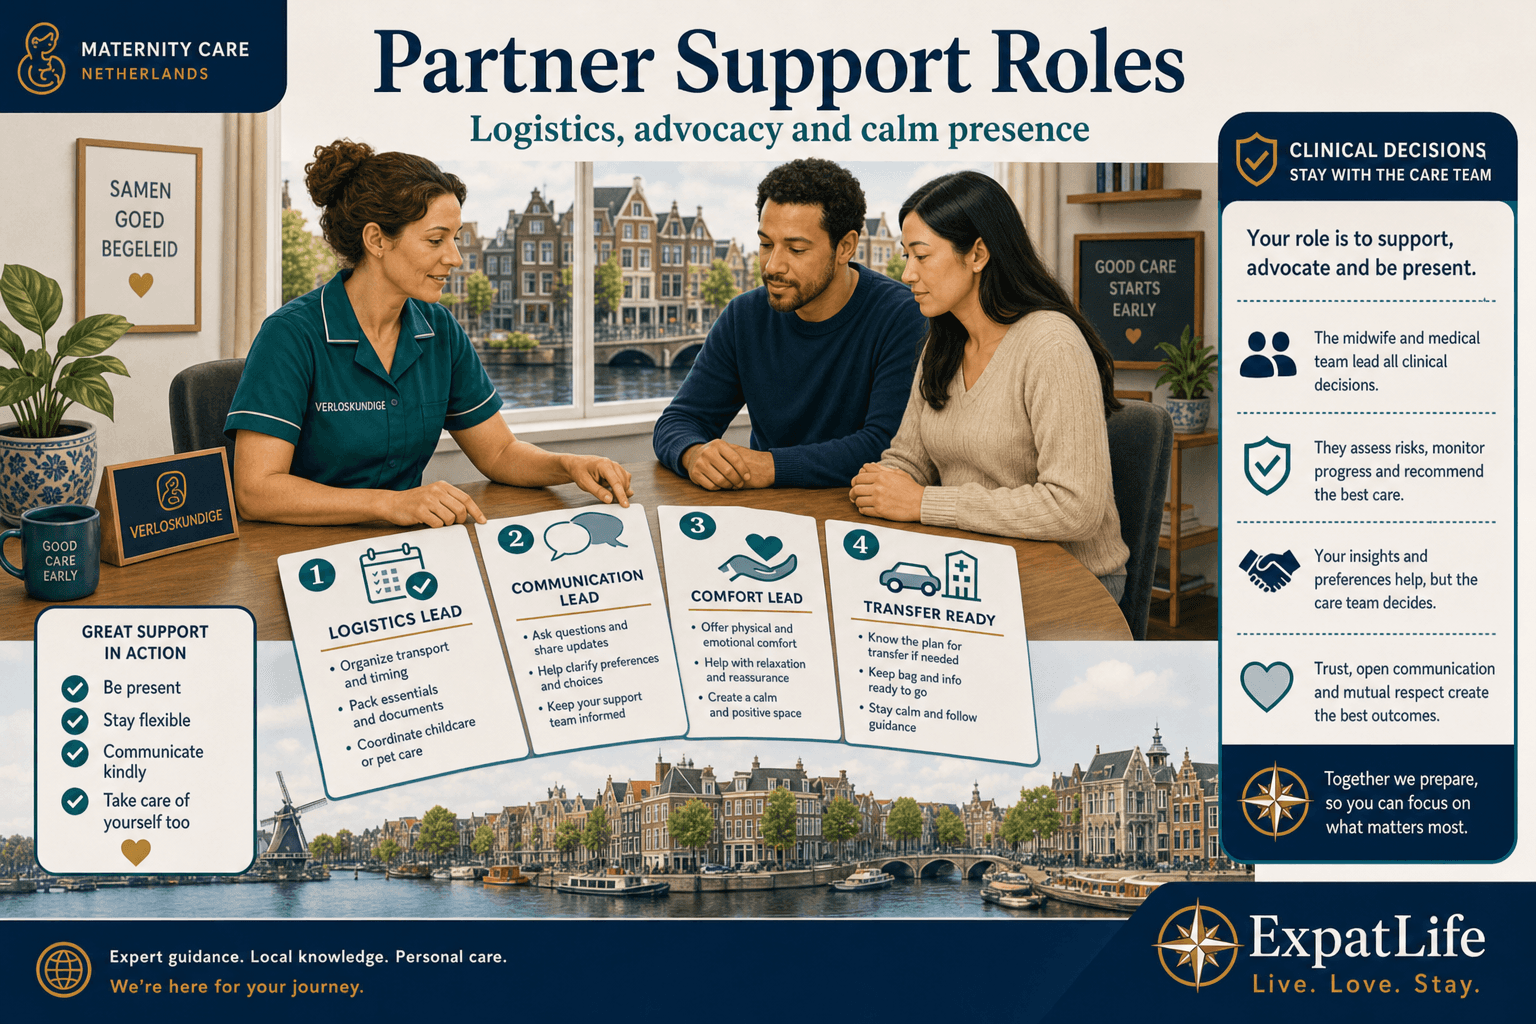
Transport, parking, bag, car seat and knowing the correct entrance.
Call the midwife with clear cues; advocate language needs politely.
Hydration, snacks, rest prompts and protecting focus during labour.
Keep documents pouch and phone chargers ready if plans change.
Labour day
Labour day usually follows the plan your midwife already shared: early cues, a call, then stay home, go to a centre or go to hospital as advised.
Early labour often continues at home when suitable. Your midwife may visit, advise waiting, or ask you to come in. Active labour support and birth then continue with your team in the agreed place — or in hospital after a transfer.
This section is orientation only. Pain management options, interventions and clinical choices belong in conversations with your midwife or obstetric team — not in an online guide.
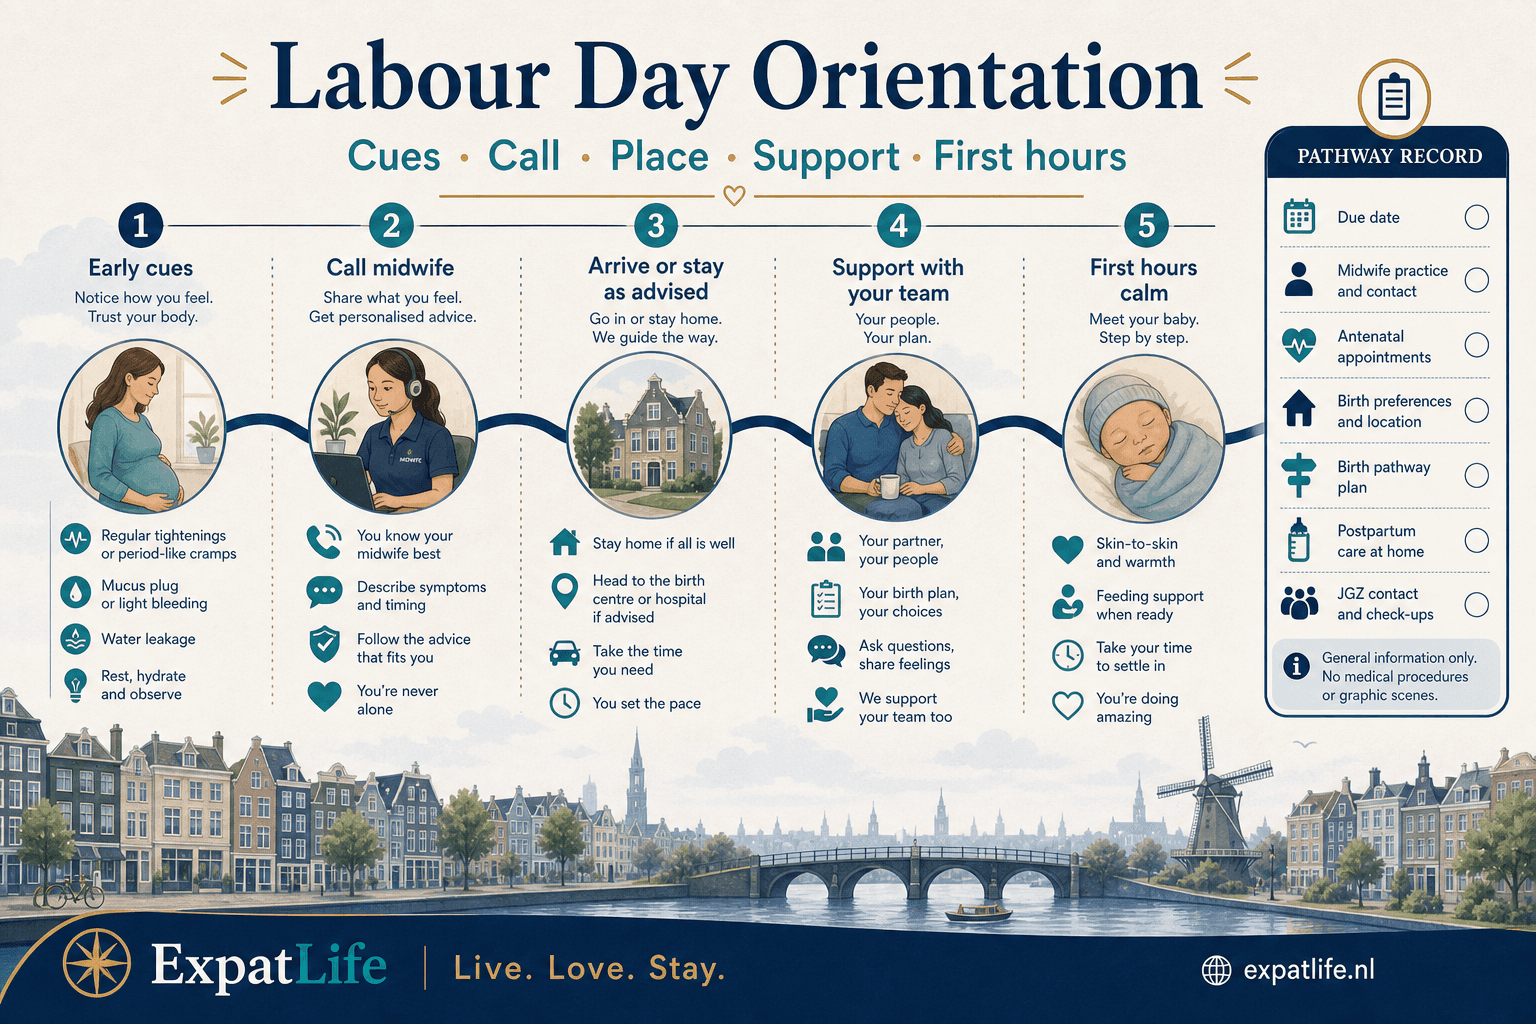
Labour day flow
Stage 1
Contractions, waters or other cues from your call sheet — note time and pattern.
Stage 2
Share the cues clearly; follow their advice on timing, stay-home or travel.
Stage 3
Home visit, birth centre or hospital entrance — bring documents pouch.
Stage 4
Midwife and/or obstetric team support labour and birth as indicated.
Stage 5
Recovery, bonding cues, checks — then practical next steps.
After birth
The immediate postpartum hours focus on recovery for the parent who gave birth, checks for parent and baby, and bonding cues such as skin-to-skin when suitable. Exact routines vary by place and clinical situation.
Feeding support, observations and paperwork orientation (including registration steps that matter after birth) are usually introduced by your team. Kraamzorg postpartum home support and Youth Healthcare (JGZ) are important next doors — detailed on Maternity care and Healthcare for Children.
If something feels urgent after you are home, use the contacts your midwife gave you — or 112 for emergencies.
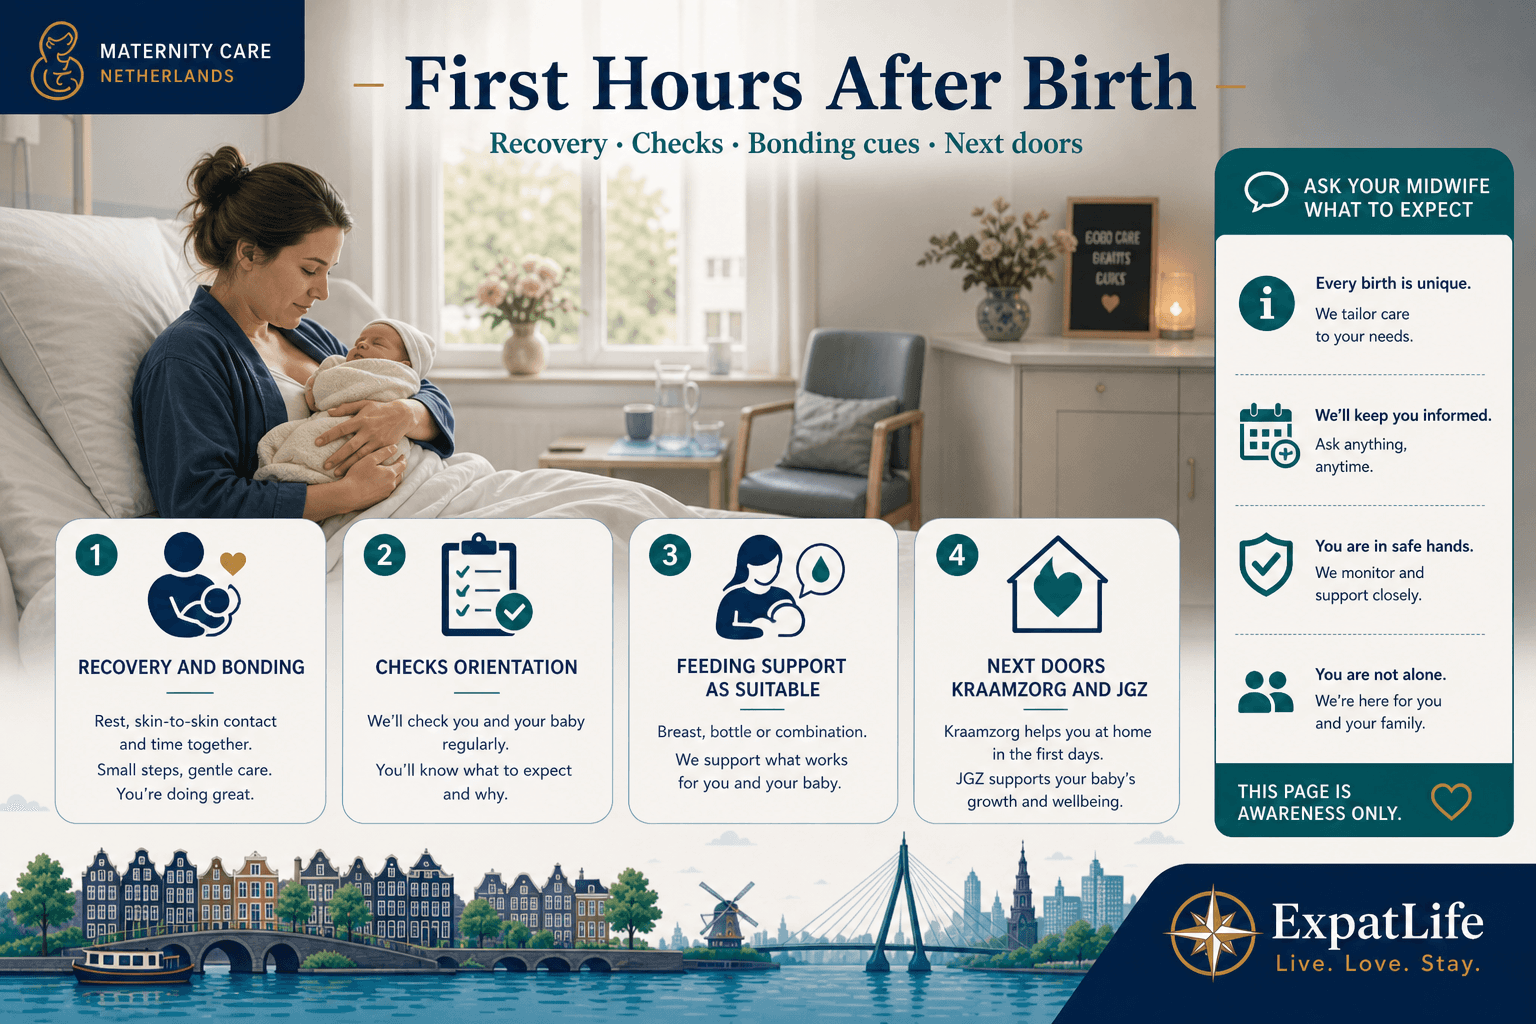
Skin-to-skin and quiet time when suitable — follow your team’s guidance in the moment.
Parent and baby observations happen on a schedule your team explains — ask questions.
First feeds are supported according to your situation — this page does not prescribe a method.
Kraamzorg awareness and children’s healthcare / JGZ continue the postpartum journey.
Transfers
Transfers from home or birth centre to hospital — or from midwife-led to obstetric pathways — happen when indications appear. Planning for change reduces fear.
Your midwife should explain common reasons transfers happen and how transport is arranged. Partners should keep the documents pouch, phone and keys ready. Ask what you will be told in the moment so the change feels oriented.
A changed plan is still your birth. Focus on clear communication with the team rather than comparing to an ideal script.
Examples
| Situation | How it works here | First step |
|---|---|---|
| Planned home birth needs hospital care | Midwife coordinates transfer; hospital team continues care as indicated. | Keep bag and documents ready; follow transport instructions. |
| Birth centre labour moves to hospital | Centres are often linked to nearby hospitals for this pathway. | Ask in advance which hospital and how transfer works. |
| Partner is unsure what to say | Short facts help: name, weeks pregnant, what changed, midwife already informed. | Practise a one-sentence handover before labour day. |
Avoid
These patterns create avoidable stress — calm call cues and packing beat last-minute improvisation.
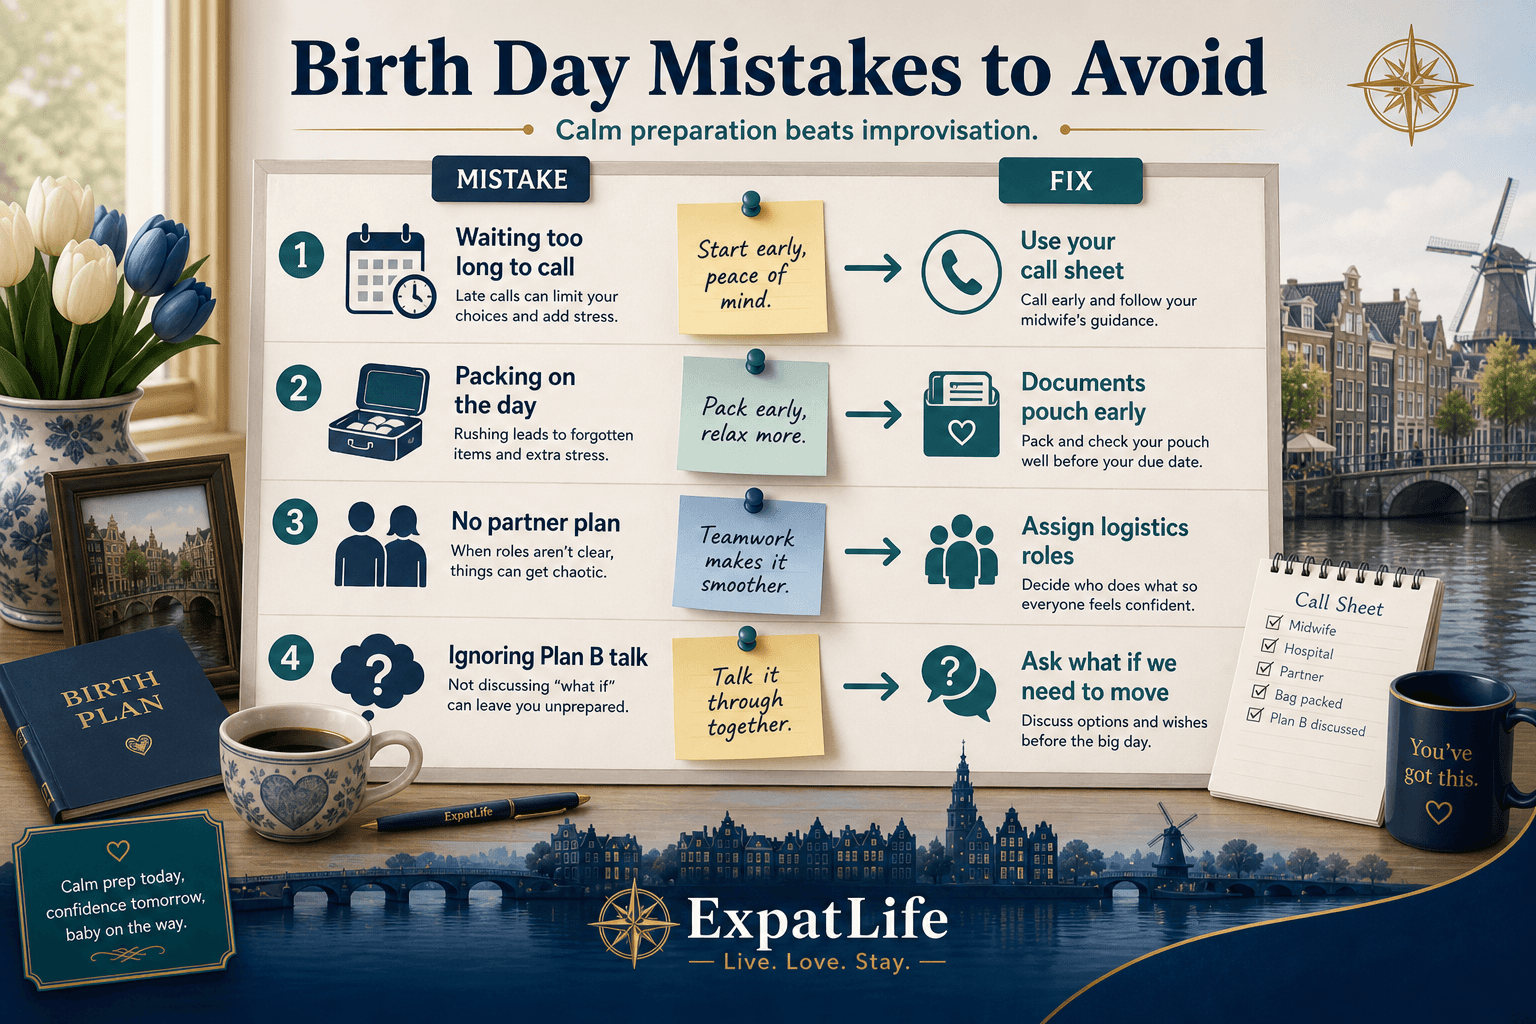
Generic internet timelines can delay contacting your midwife.
Fix: Use your practice’s call sheet — when in doubt, call.
Searching for ID during contractions adds stress.
Fix: Pack documents first in the final weeks; refresh the bag once.
Unclear transport, entrance or phone roles create friction.
Fix: Assign logistics, communication and comfort roles before labour.
Dutch pathways often discuss home or centre when suitable.
Fix: Have the place-of-birth talk early — and revisit it.
Transfers feel scarier when never discussed.
Fix: Ask “what if we need to move?” during antenatal visits.
Birth day ends; kraamzorg and JGZ still matter.
Fix: Bookmark Maternity care and Healthcare for Children before the due date.
Ready
Use this in the final weeks. Confirm clinical details with your midwife — this is orientation, not a medical checklist.
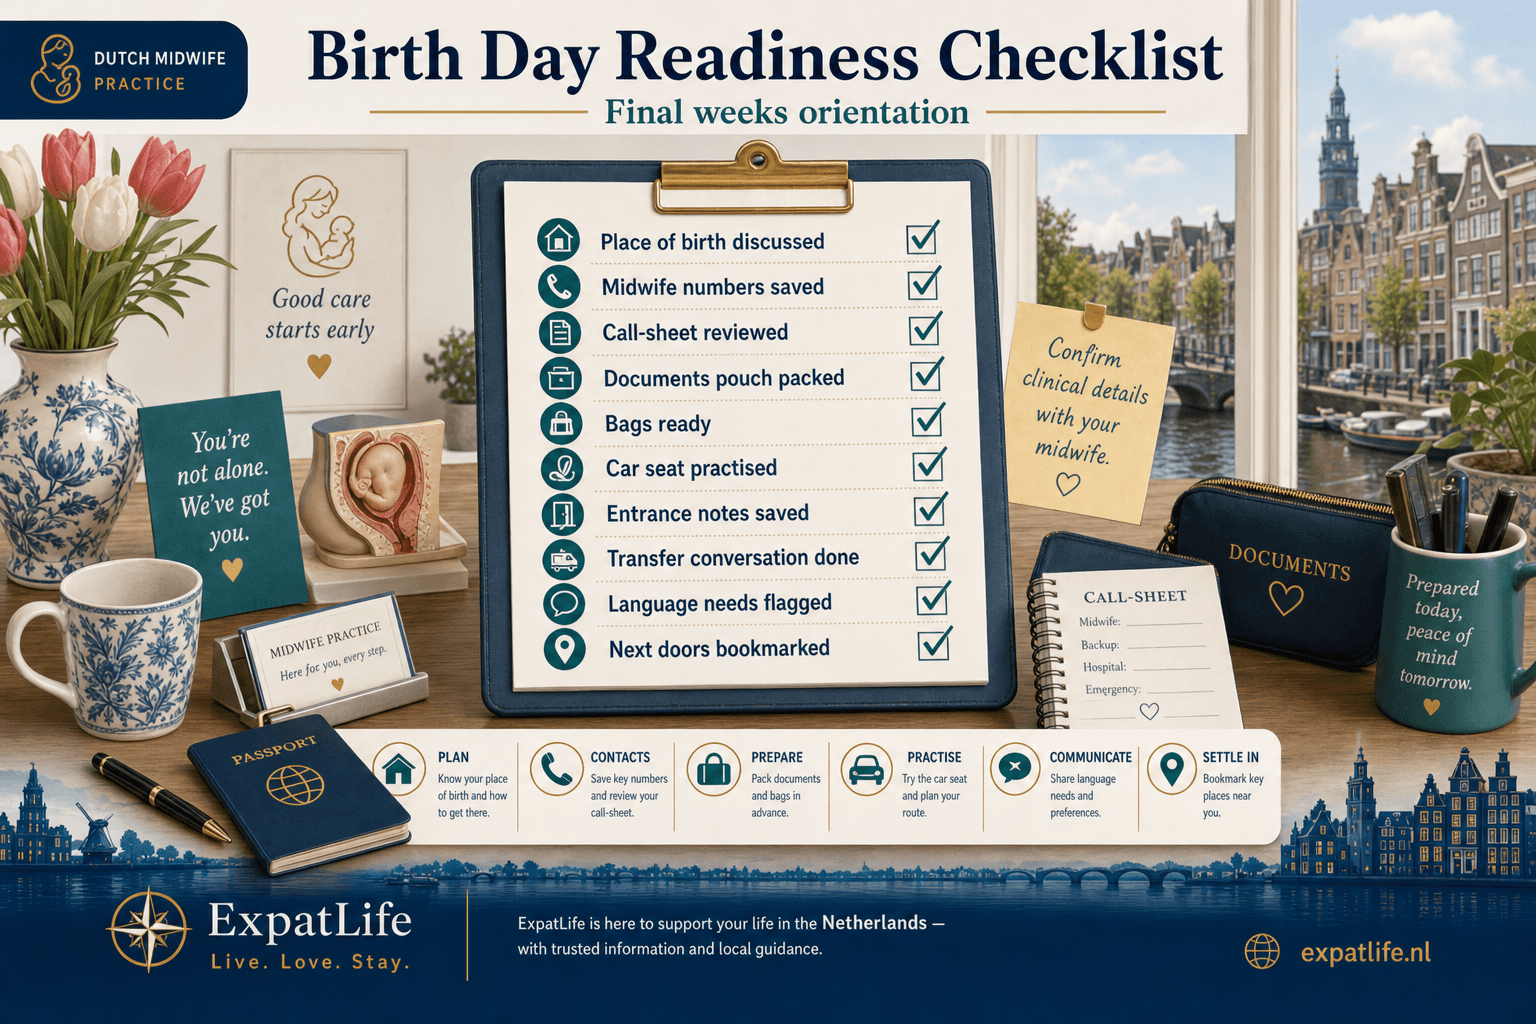
Birth-day readiness checklist
How-to
Five orientation steps for expats preparing for birth day with a Dutch midwife or obstetric team.
Step 1
Discuss home, birth centre or hospital suitability and what a transfer would look like.
Step 2
Get the midwife call sheet, save on-call numbers, and practise the first phone sentence with your partner.
Step 3
Documents first, then parent, baby and partner kits — refresh once in the final weeks.
Step 4
Logistics, communication and comfort leads — plus who updates family.
Step 5
Ask what recovery and checks look like, then bookmark Maternity care and Healthcare for Children.
FAQ
Short answers for the searches expats ask most often about giving birth in the Netherlands.
Home birth can be an option when your midwife considers the situation suitable. It is not automatic for every pregnancy. Discuss suitability, preparation and transfer plans with your midwife.
A birth centre is a home-like birth setting often linked to hospital pathways. Ask your midwife whether a centre is part of your options and how transfer to hospital works if needed.
Follow the cues on the call sheet your midwife gave you — contractions, waters breaking, reduced movements and other symptoms they listed. When unsure, call. Use 112 for life-threatening emergencies.
Prioritise ID, insurance details and pregnancy notes, then comfortable clothes, toiletries, chargers, snacks and a partner overnight kit. Confirm any place-specific items with your midwife.
Typical support roles include logistics, calling the midwife, language advocacy, comfort prompts and keeping documents ready if plans change. Clinical decisions stay with the care team.
Routines vary, but teams usually focus on recovery, checks for parent and baby, and bonding or feeding support when suitable. Ask your midwife what to expect for your pathway.
Transfers are a planned part of safe pathways when indications appear. Your midwife coordinates; partners keep documents and phones ready. Ask about the transfer process antenatally.
Use the Maternity care guide for midwife pathways, registration timing, insurance orientation and kraamzorg awareness. This page stays focused on birth day itself.
Continue with Healthcare for Children for JGZ and children’s healthcare orientation, and Parenting for broader Dutch family life.
No. ExpatLife provides general orientation only. Follow your midwife or obstetric team for personal clinical guidance.
Related
Maternity care is the system companion. Healthcare for Children and Parenting continue after birth. Pets is the family cluster sibling.
Hub
Stay inside the family cluster — giving birth, parenting, children’s healthcare, maternity care and pets.
Explore next
Continue to maternity pathways, children’s healthcare, parenting culture or the pets sibling guide.
Trust
Confirm personal clinical guidance with your midwife or obstetric team — these sources are orientation only.
General orientation only. ExpatLife does not provide medical advice or rank midwives, hospitals or birth centres. Confirm personal guidance with your midwife or obstetric team.